DIY Trapezoid Skirt Tutorial
While living in Japan, I noticed a gap in my wardrobe and decided to fill it with some simple linen skirts. I ended up making 4, and they quickly became my go-to pieces. After a bunch of requests, I have made a little tutorial explaining how easy it is to make one for yourself. Keep reading to find out how!
Please Note:
This sewing pattern tutorial is for personal, non-commercial use only, and no part of this post may be reproduced, transmitted, or shared in any form. Please do not produce items with this pattern and tutorial for resale.


You will need:
– 2-3 meters of woven fabric (120cm – 138cm wide)
– Matching thread
– Scissors
– 1-2 inch wide elastic to fit your waist
– Iron & Ironing Board
Measurements:
To find the measurement of the top of your trapezoid, use the following formula.
Width = Hips + 20cm / 2 (My Measurments - 106cm + 20cm / 2 = 63cm)
To find the measurement of the bottom of your trapezoid, add 20cm to the result above.
To find how much elastic you need for your waistband, use one of the following formulas.
Waist measurement - 10cm OR waist measurement - 25%
Depending on the width of your fabric and your measurements you may need to cut out 4 skirt pieces meaning there is a centre front and centre back seam.
Method:
Step 1
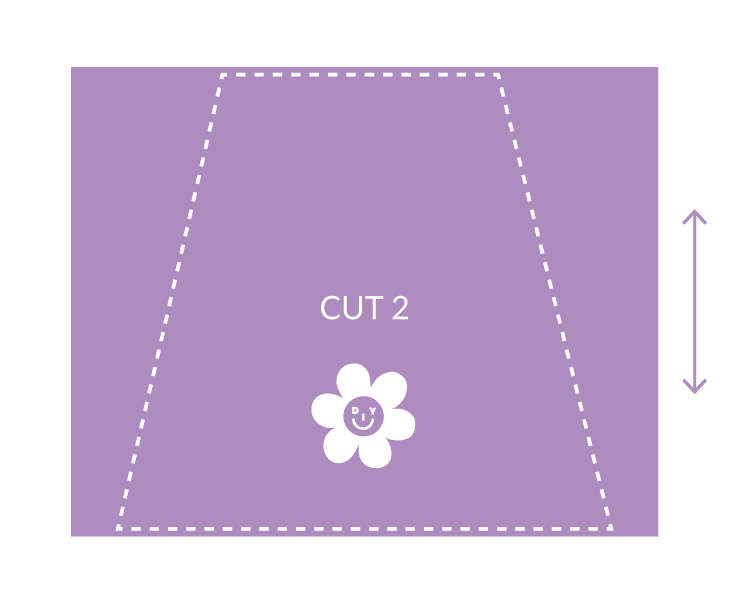
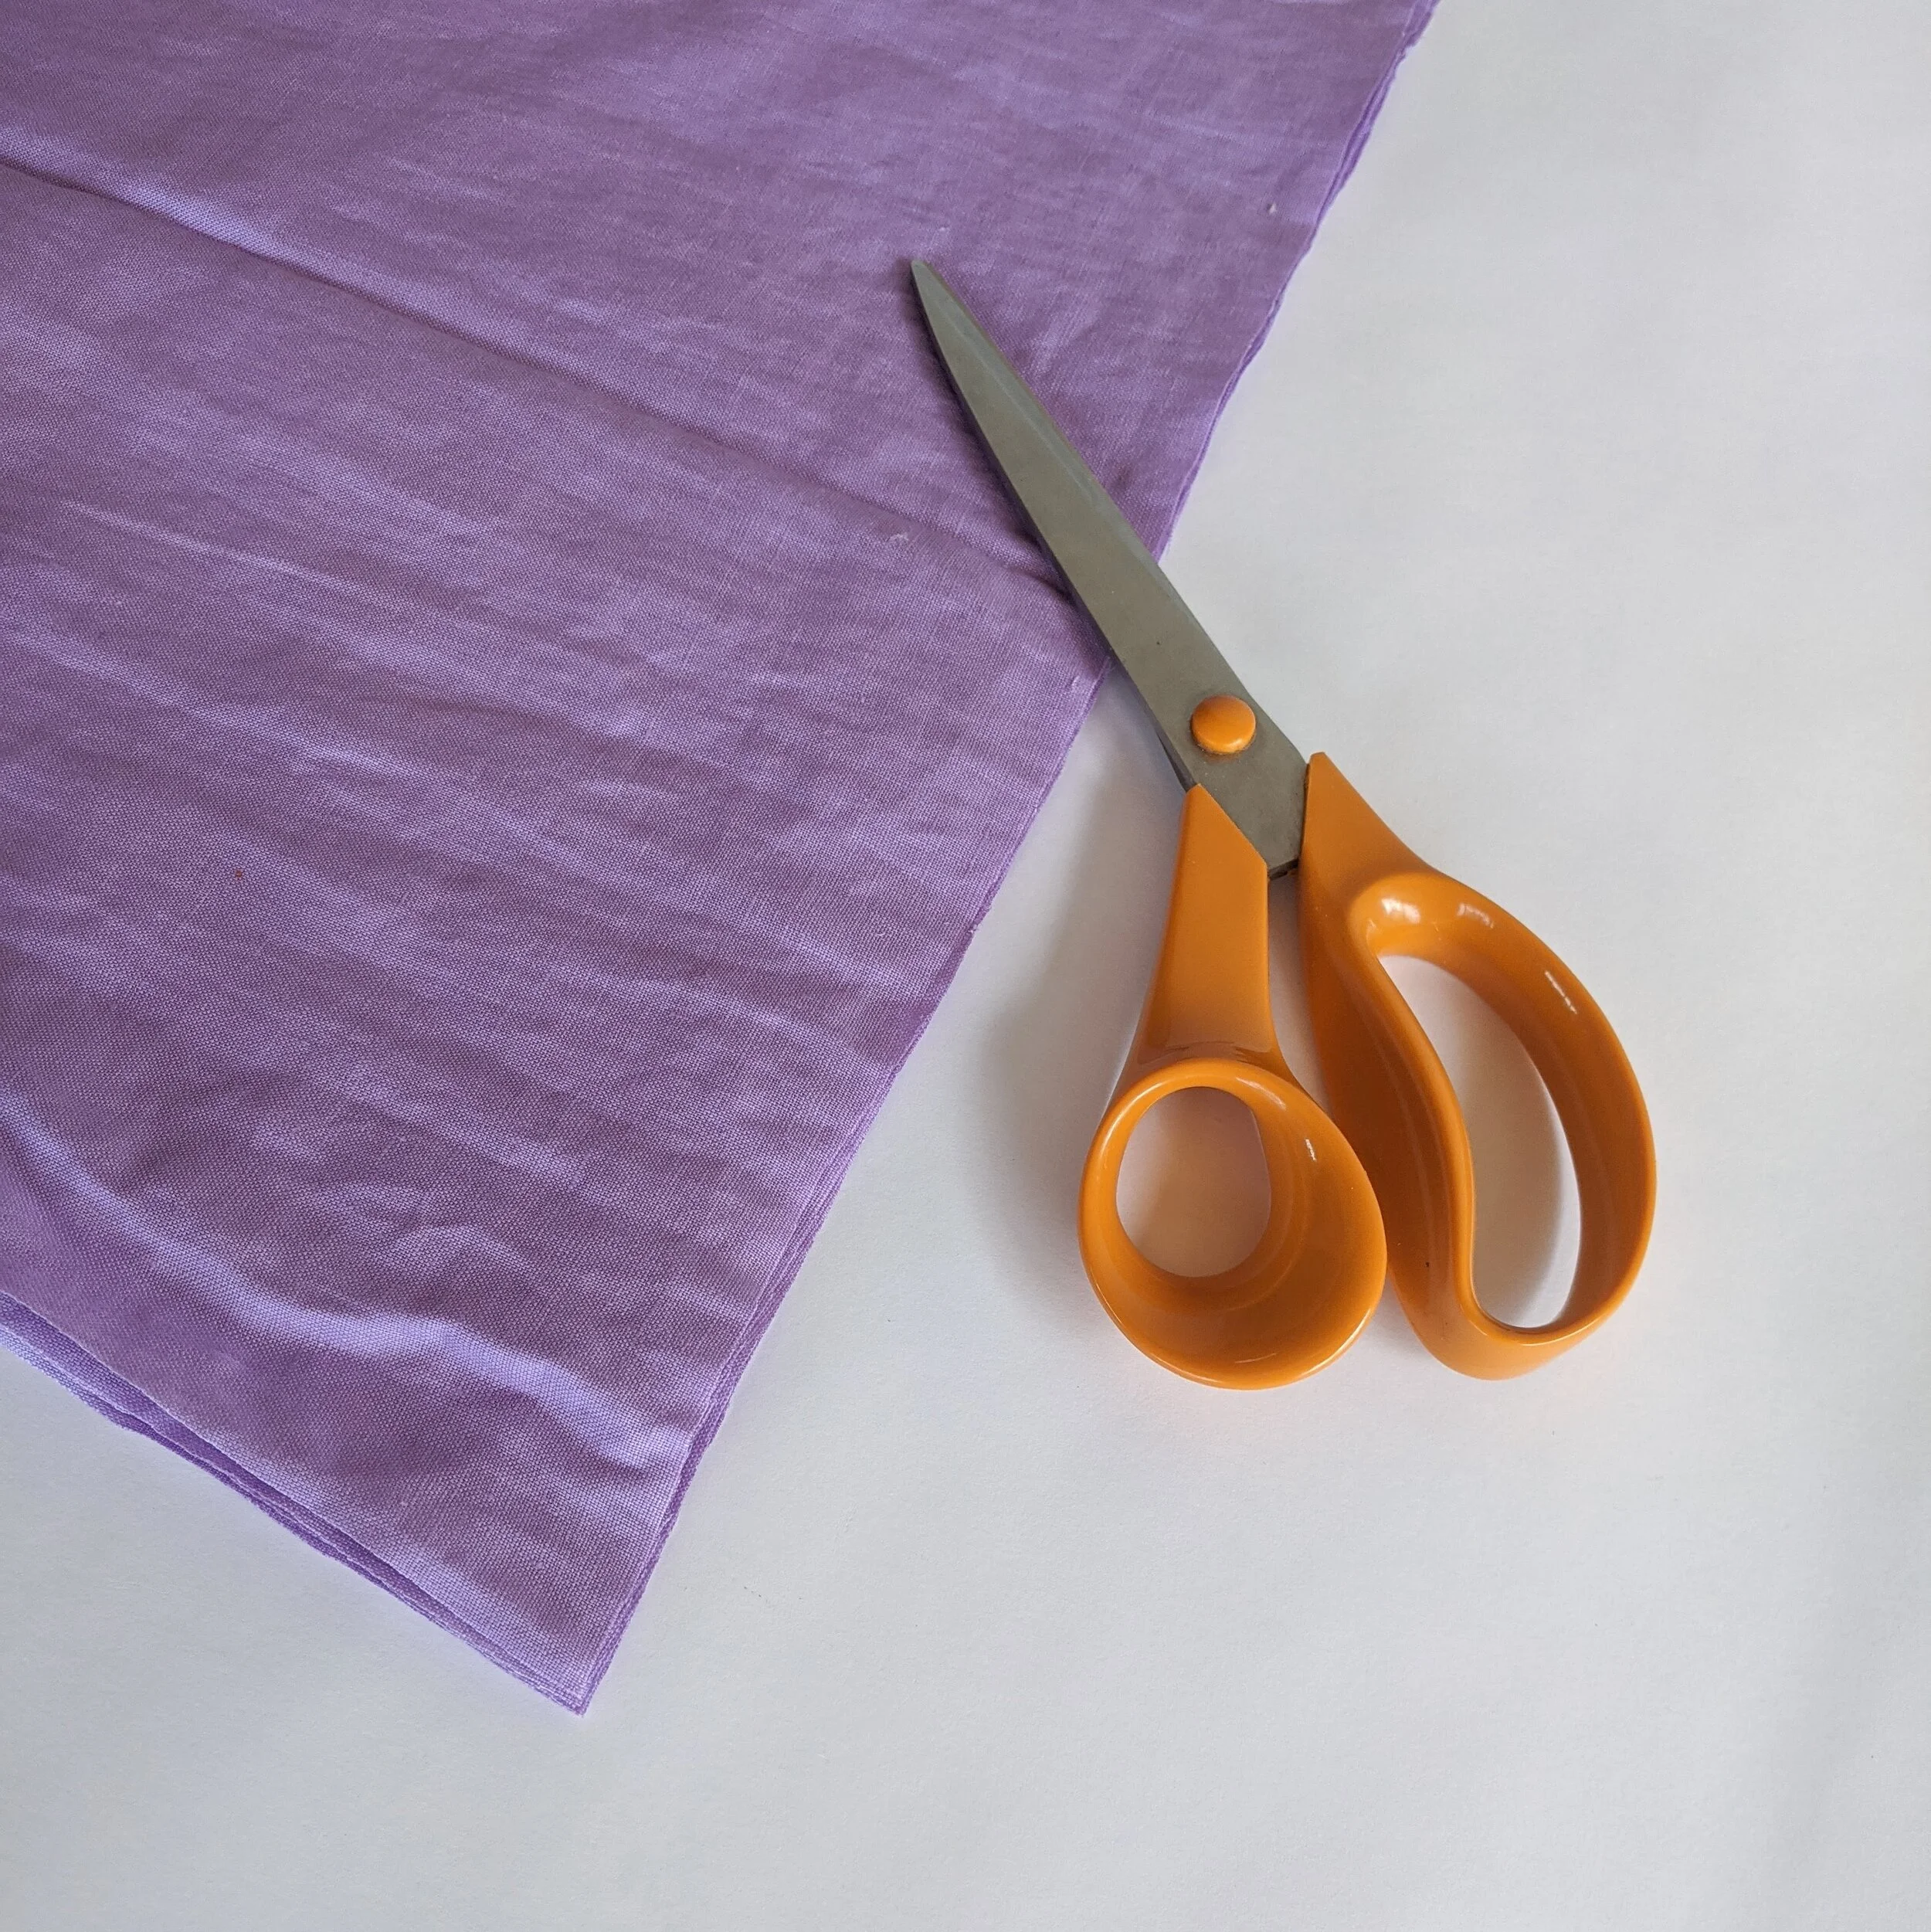
Cut 2 trapezoids shapes from your fabric. To do this, cut your 2 m of fabric in half so you have 2 1m lengths. Lay them on top of each other and then fold them in hald selvedge to selvedge. Then trace your lines using chalk or a pencil and then finally cut out the pieces.
Step 2
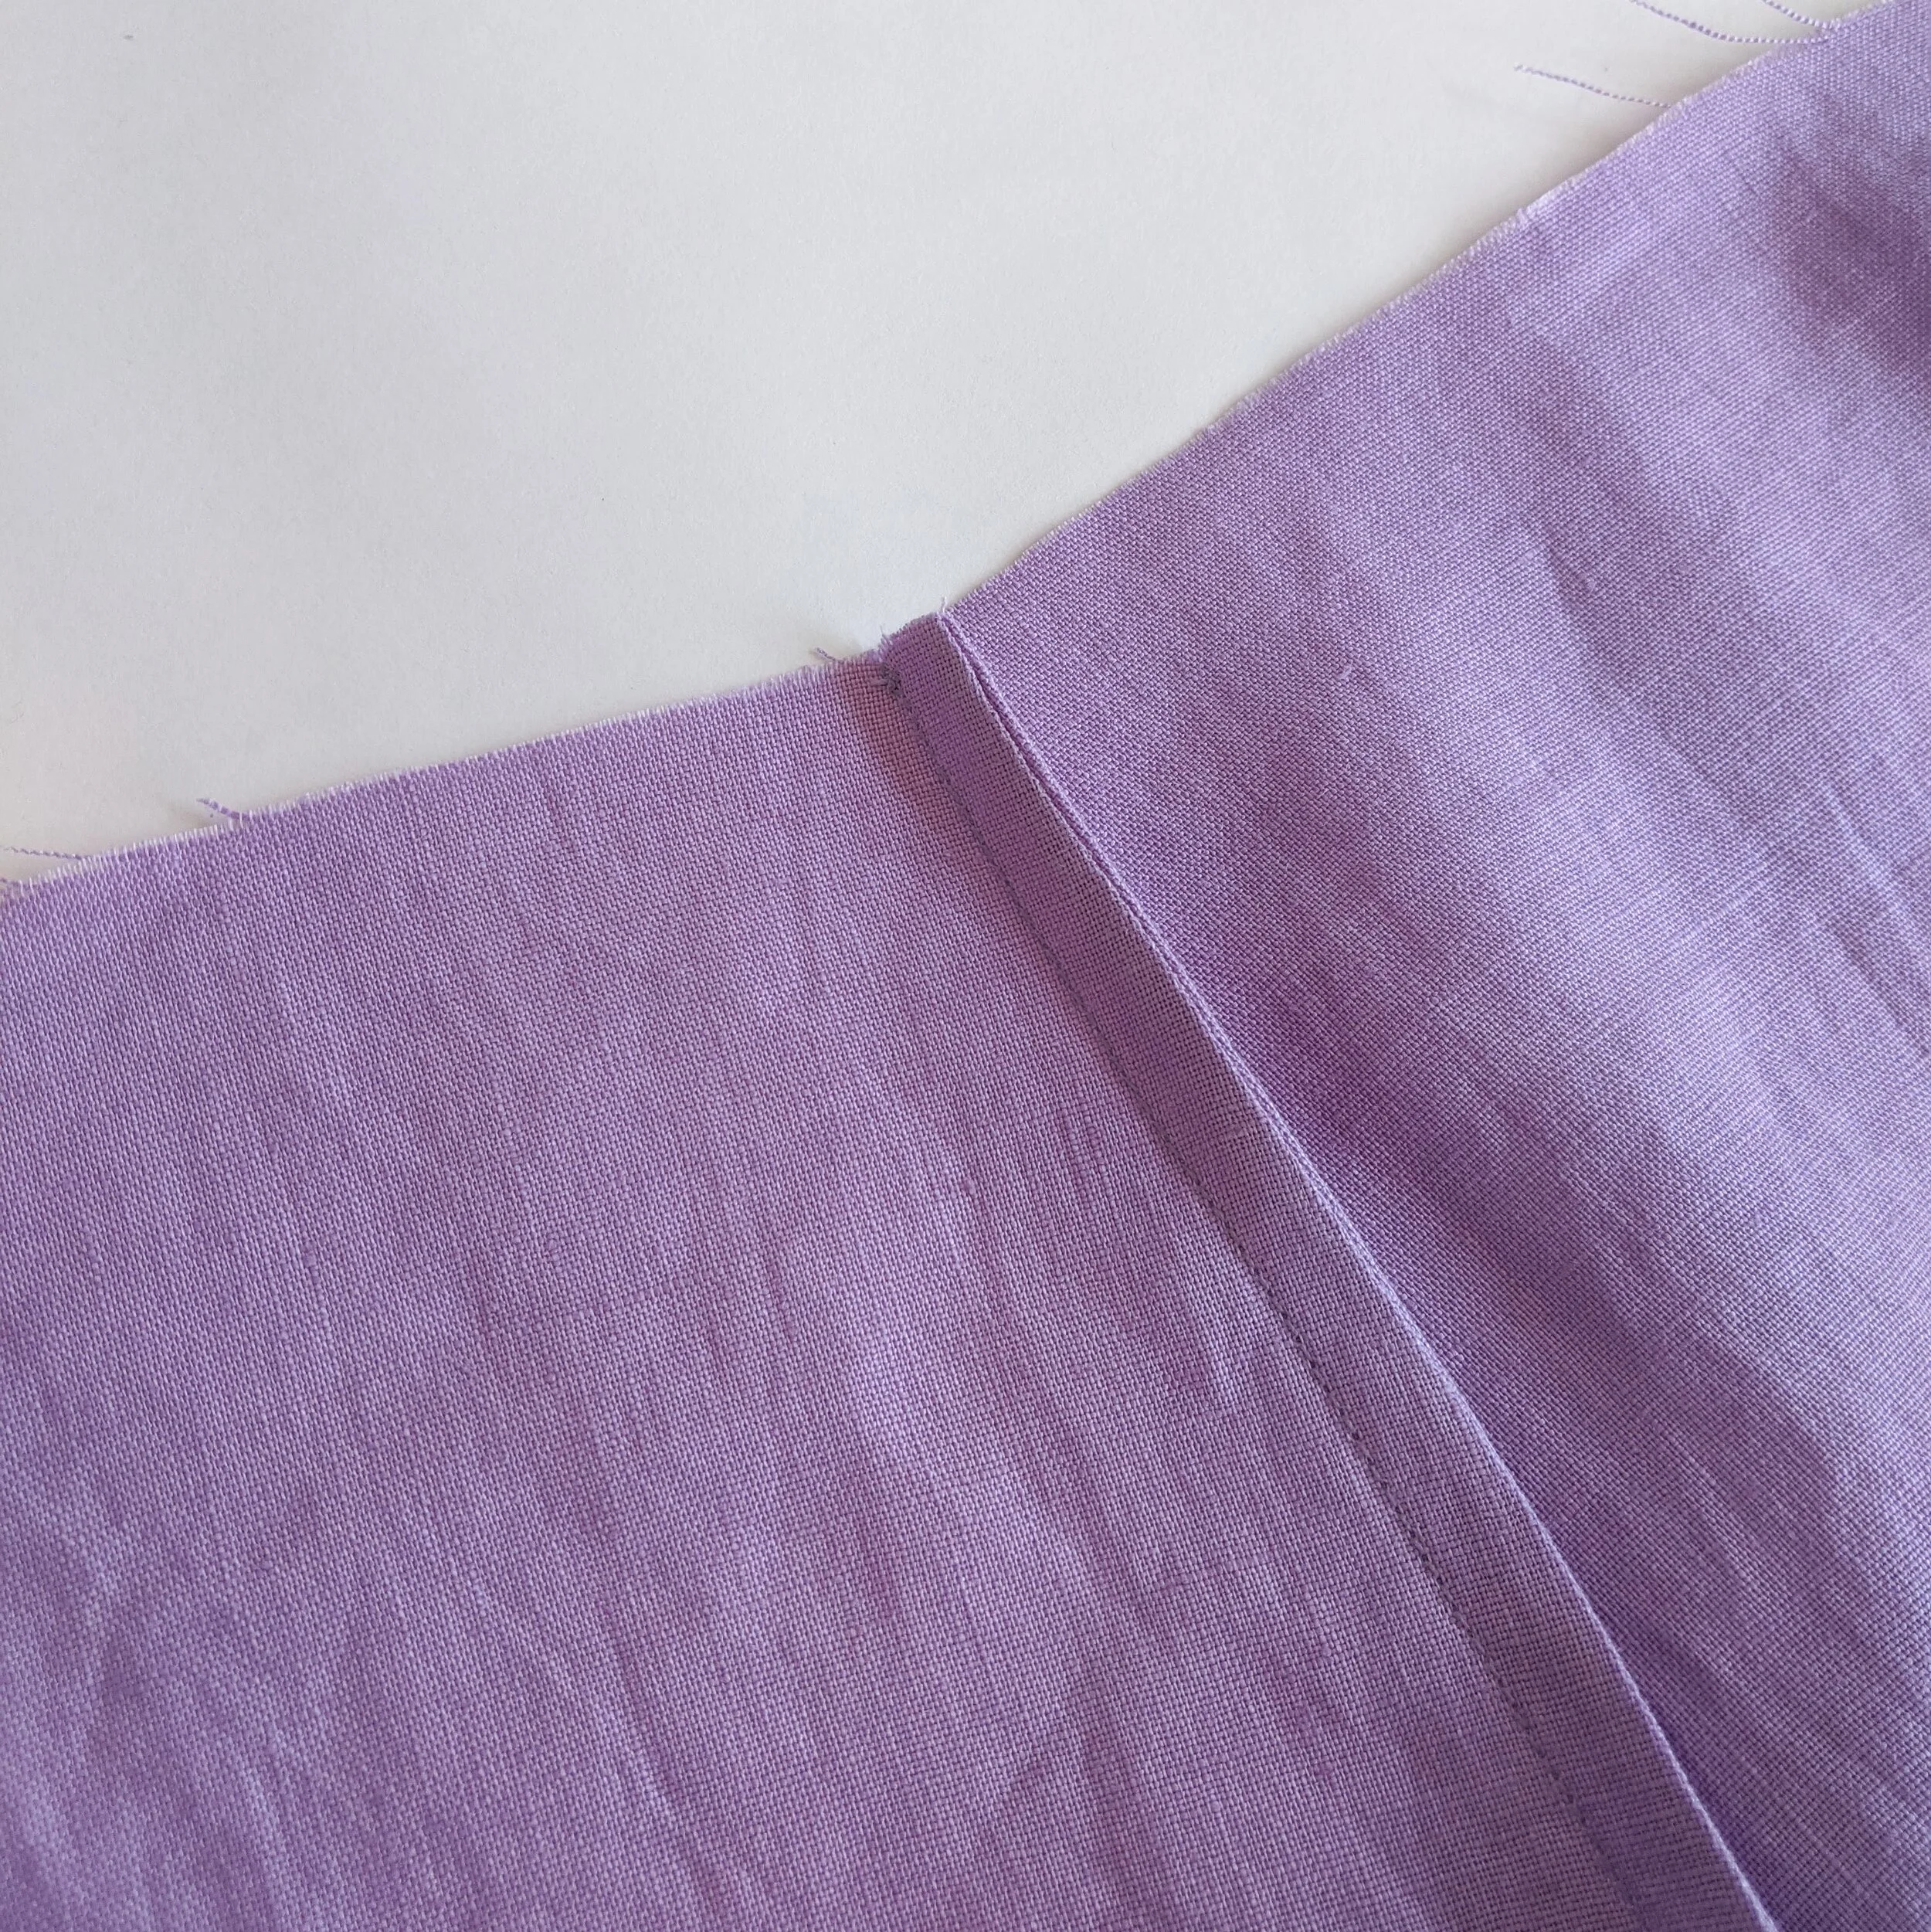
Sew up the side seams with a straight stitch. If you don’t have an overlocker you can do french seams or a zigzag stitch.
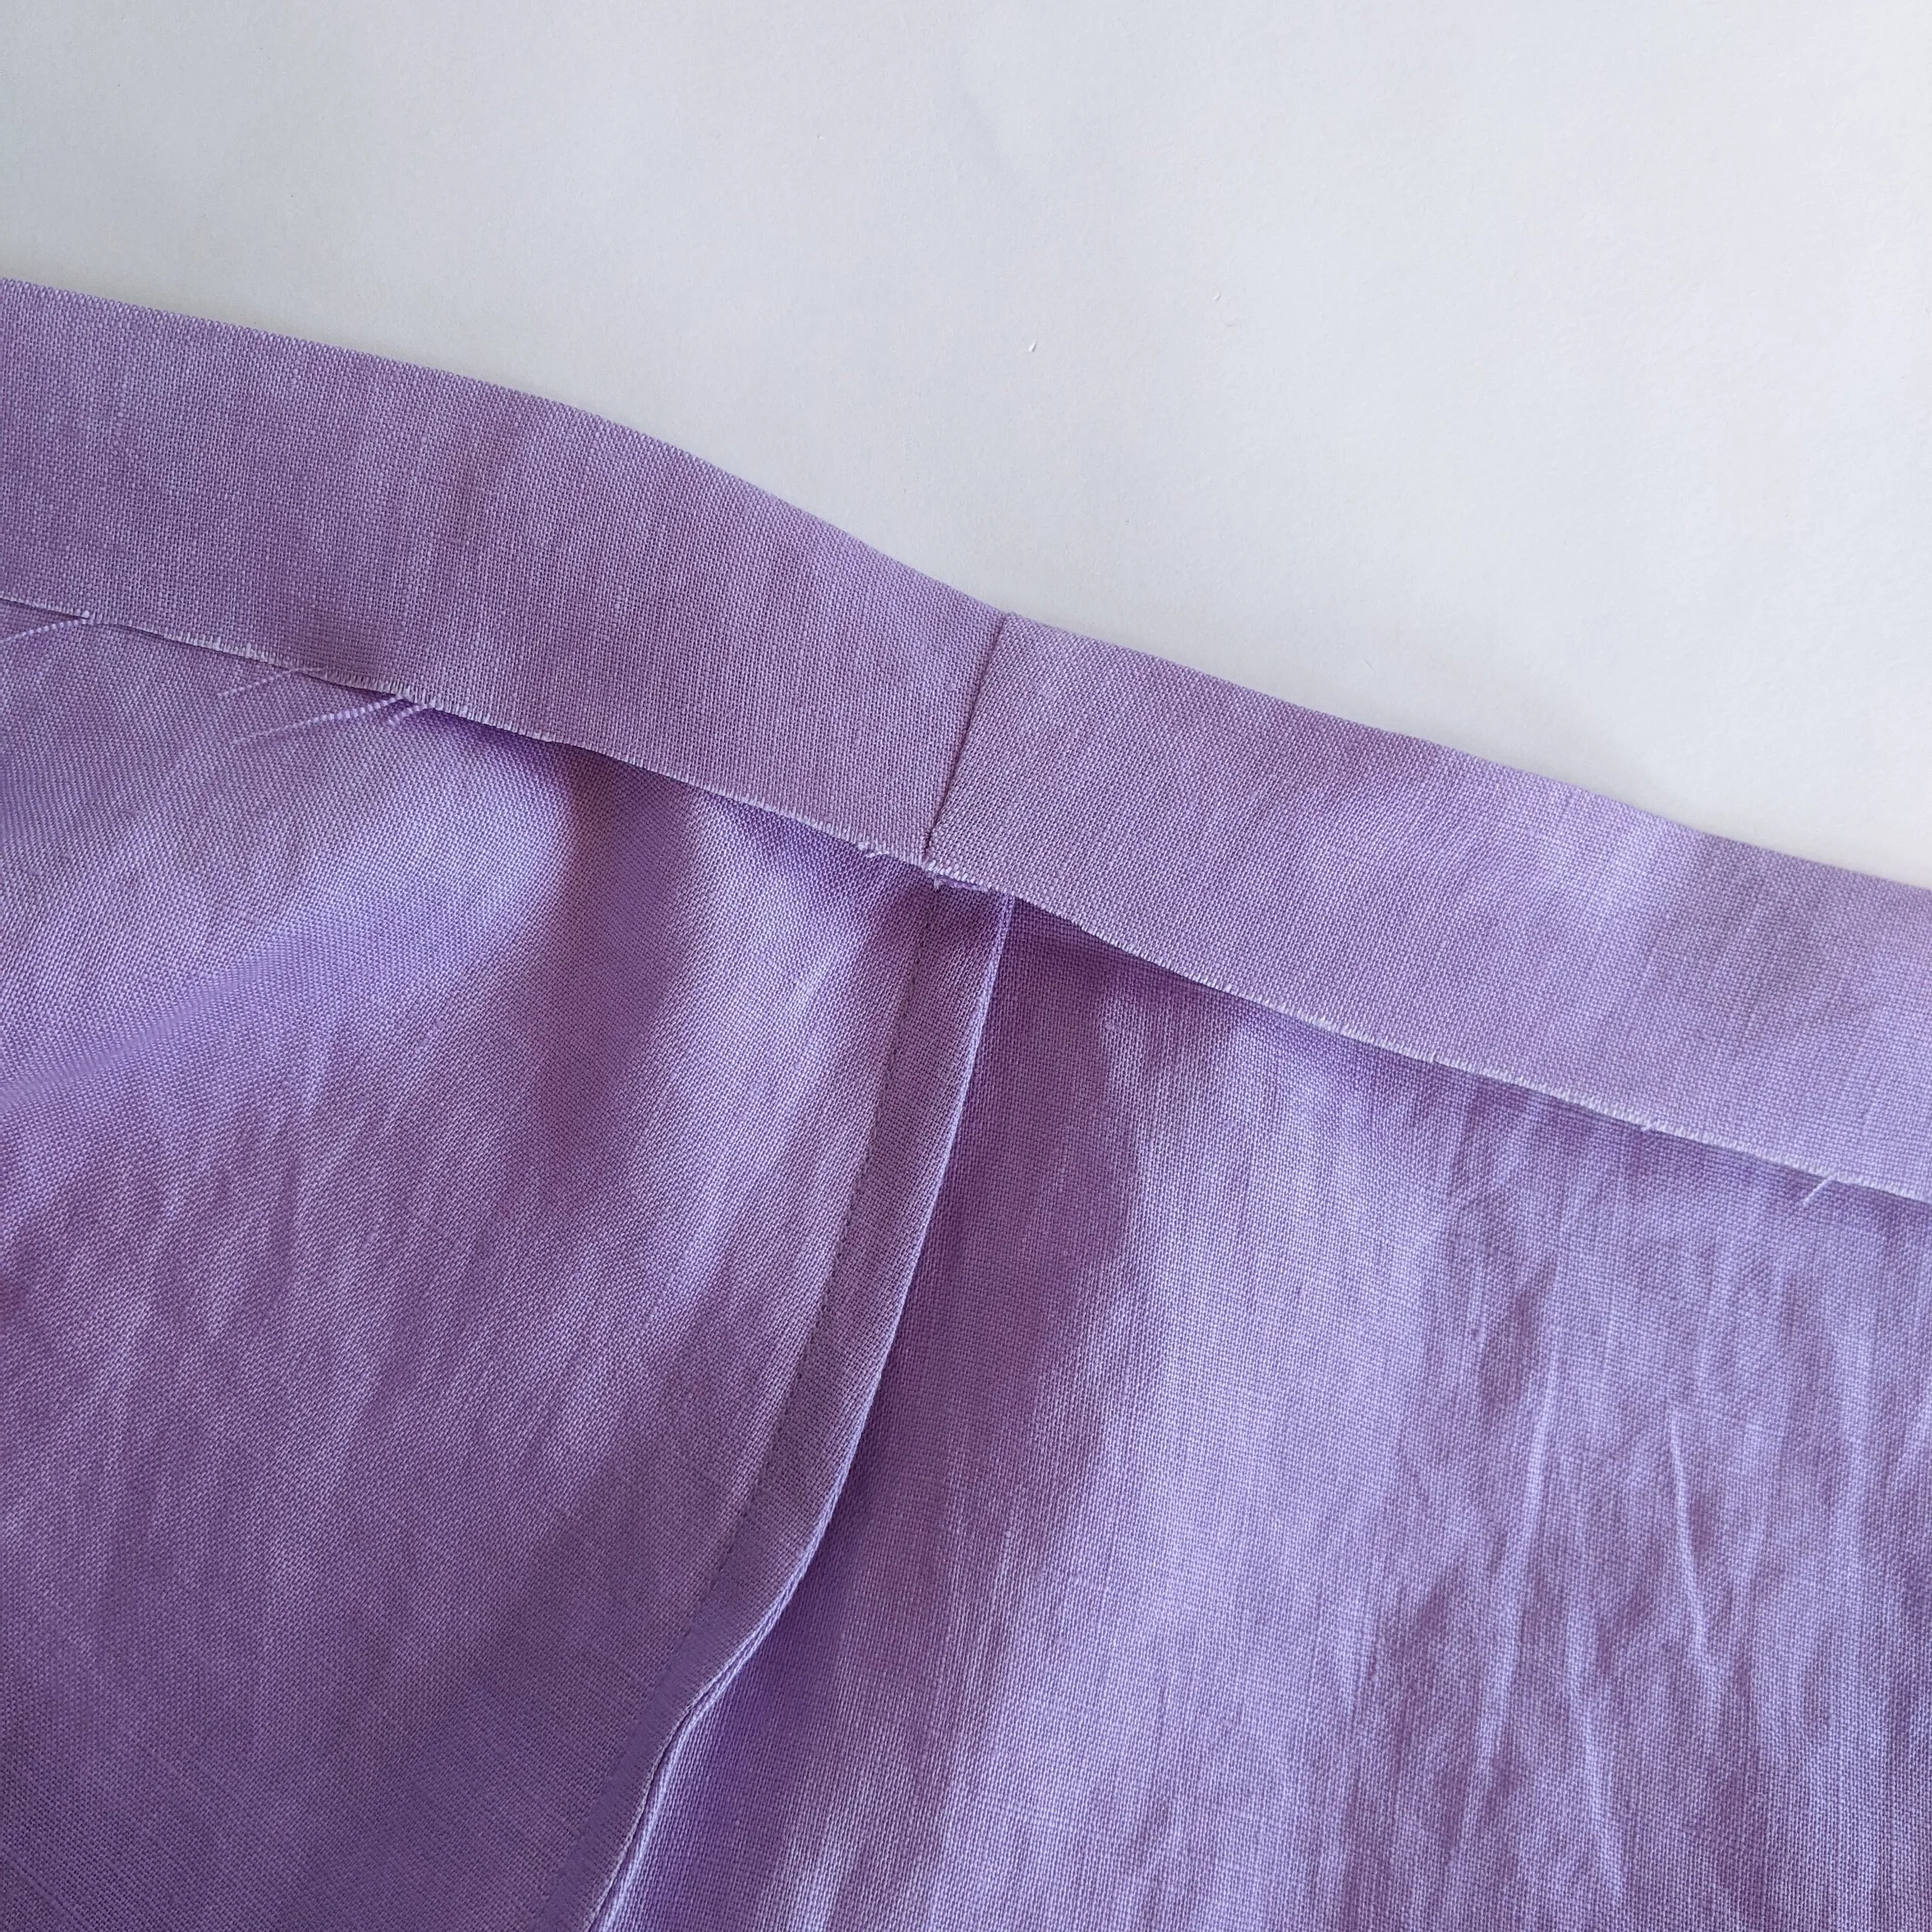
Step 3
Make a waistband casing template using a piece of card. I usually do this with the back cover of a magazine or a piece of cardboard. To determine the size of your template measure the width of your elastic, multiply it by 2 and add 1cm. My elastic is 3cm wide so my template will be 7cm wide and as long as your card is.
Step 5
Using your template, mark a line along the top edge of the skirt.
Step 6
Fold over the edge of the fabric to the line youve just marked and press flat.
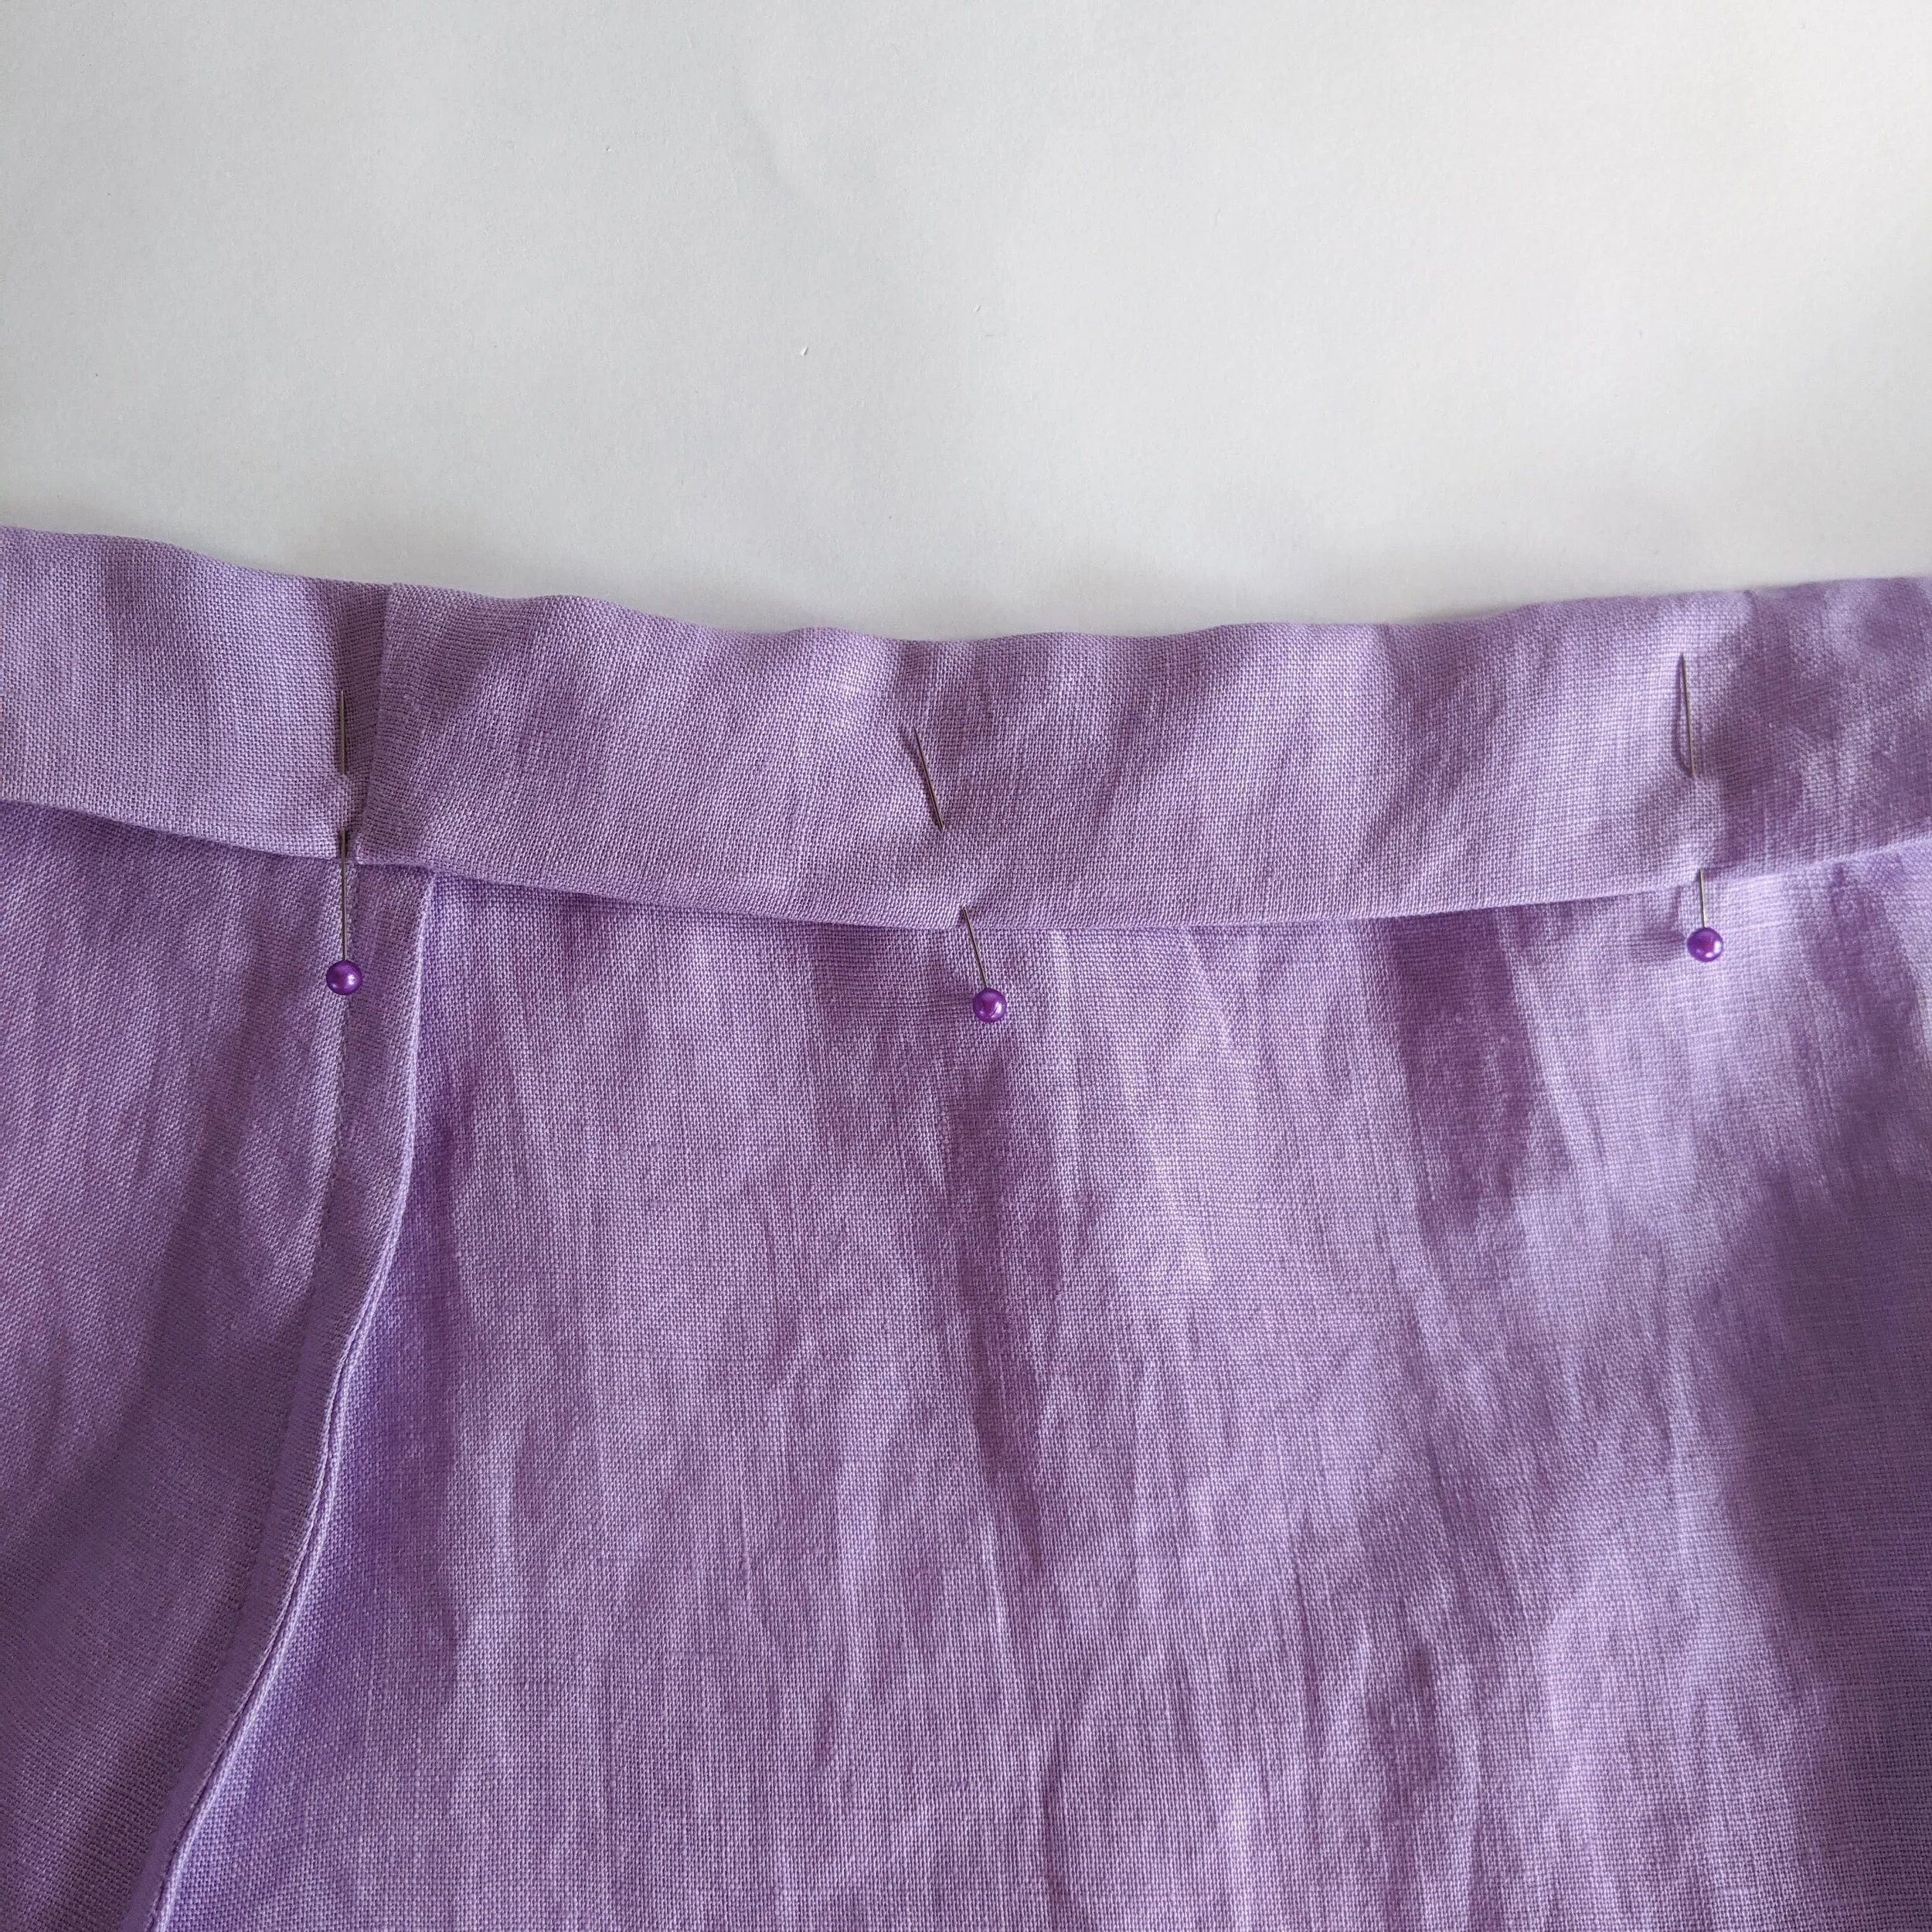
Step 7
Fold over the edge again, press and pin.
Sew a straight stitch nice and close to the edge all the way around the casing, making sure to leave a 2-inch hole.
Step 8
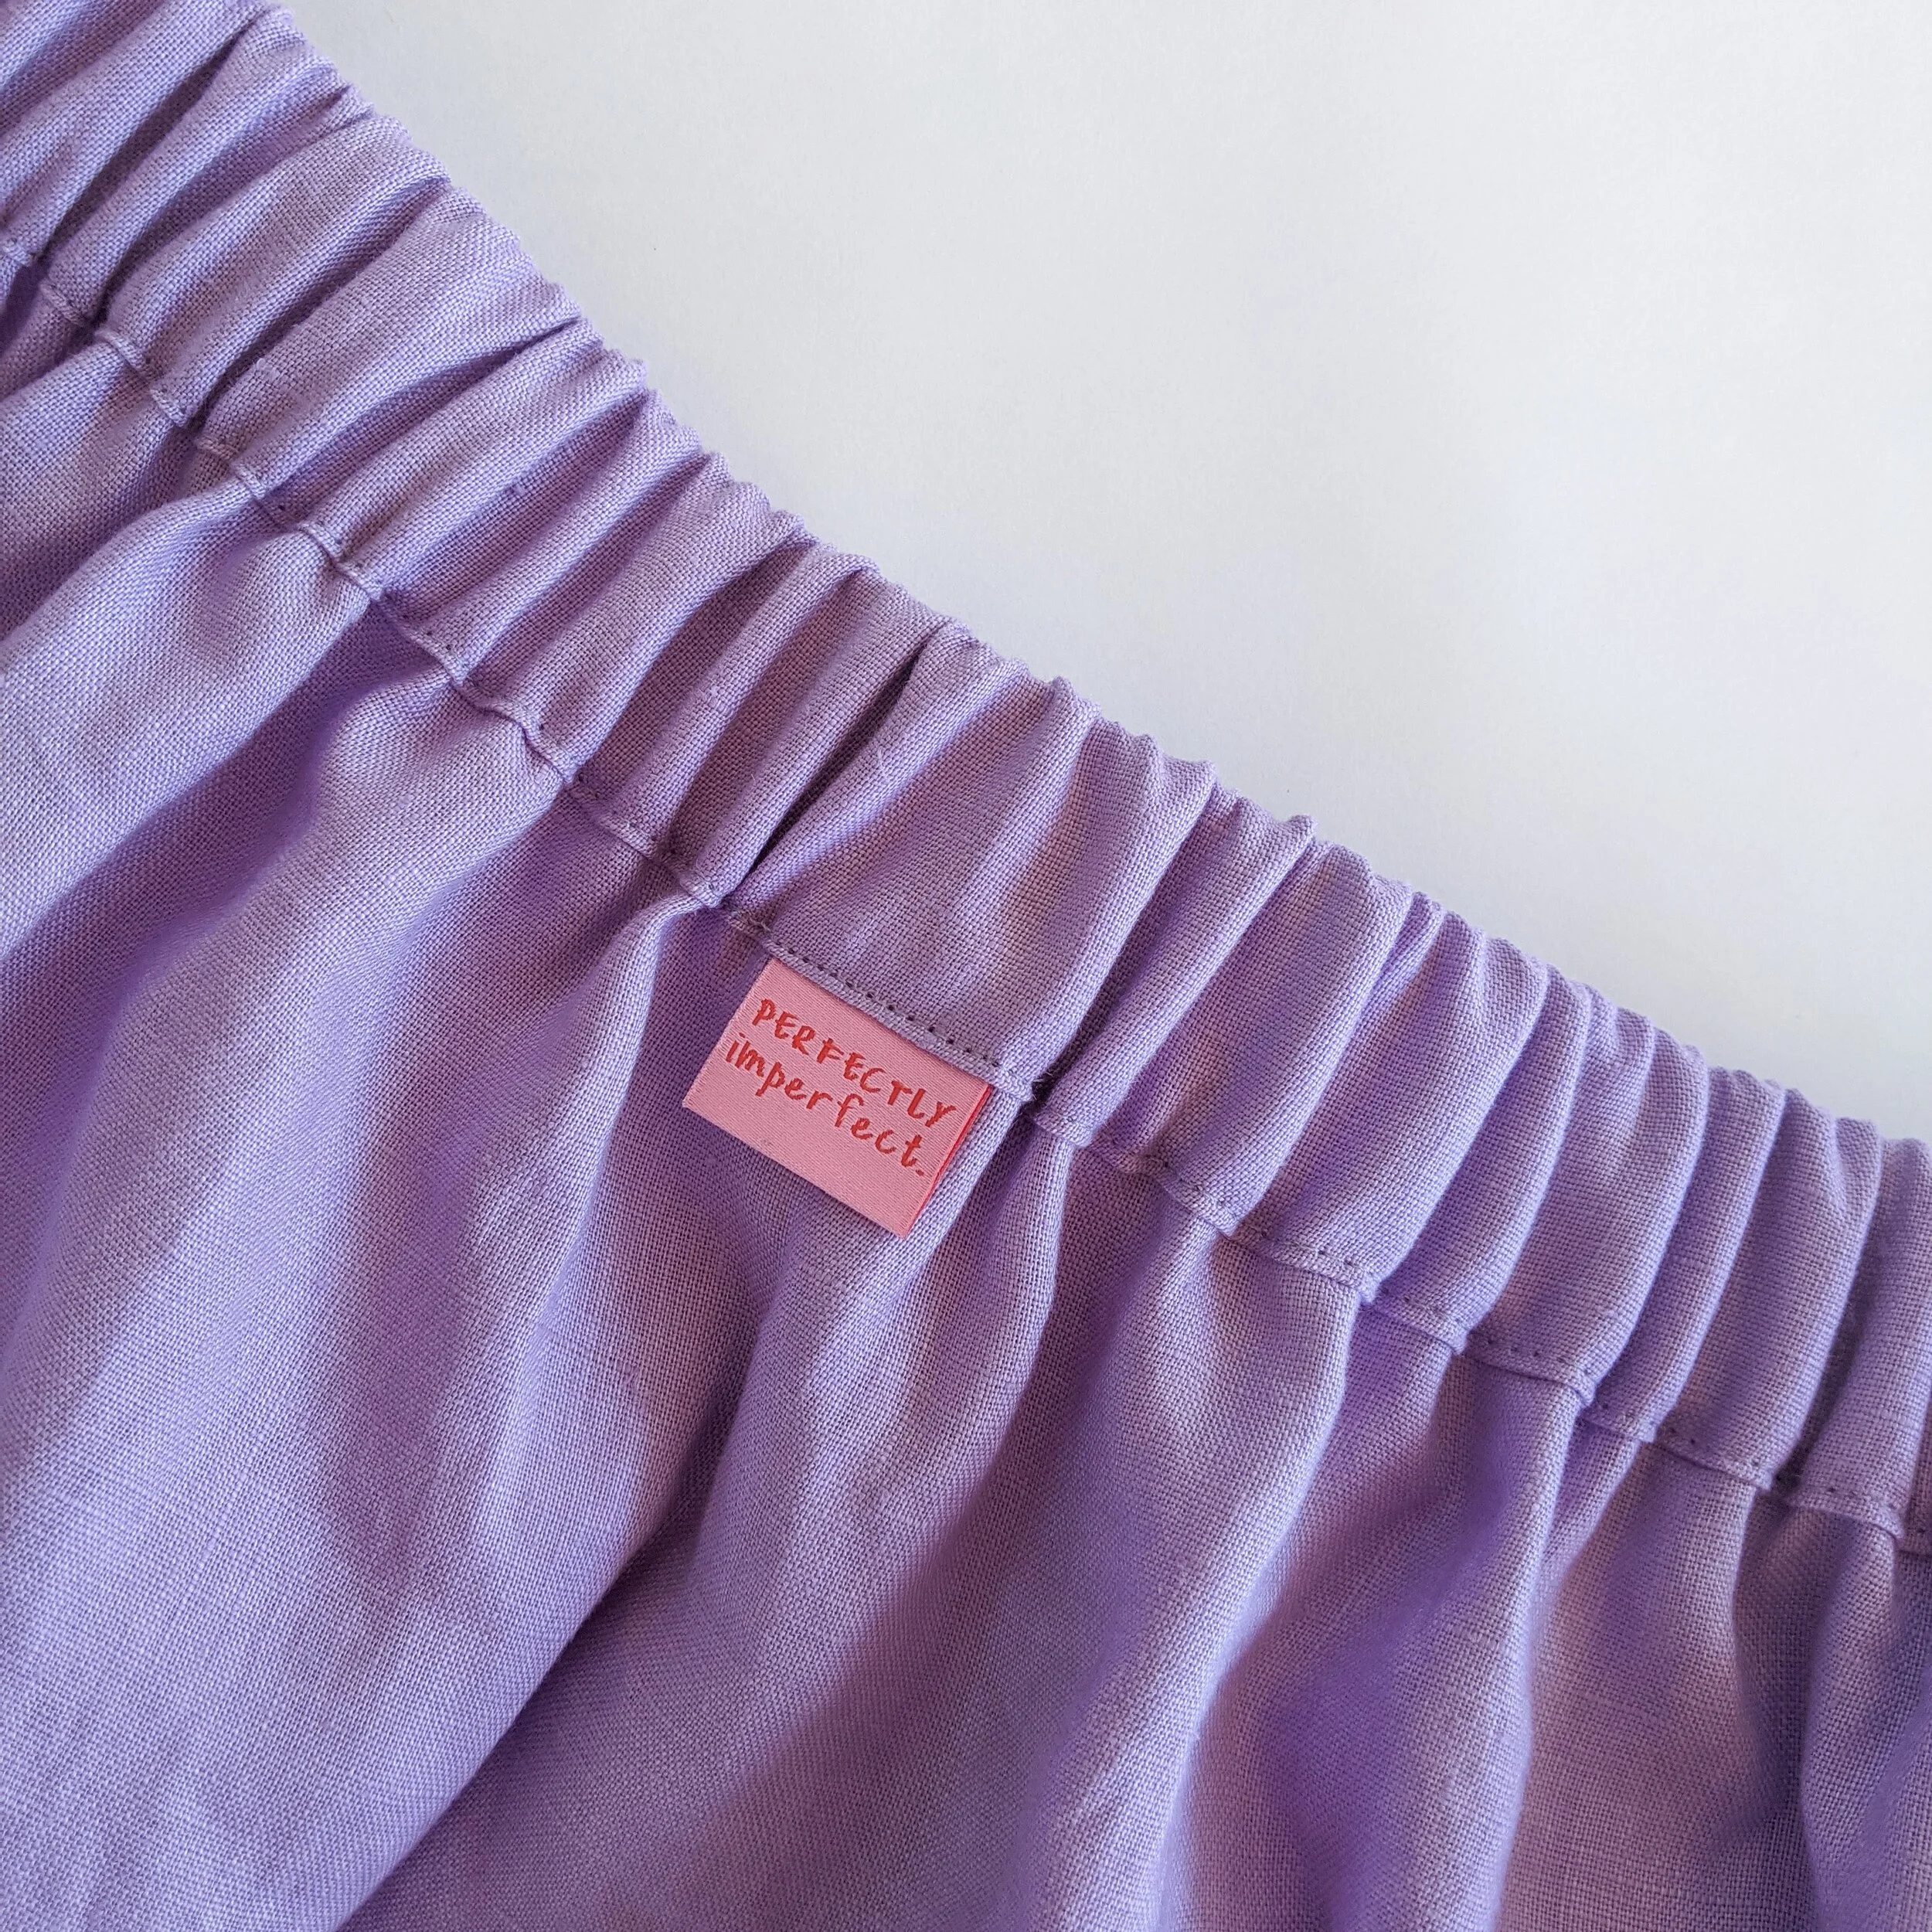
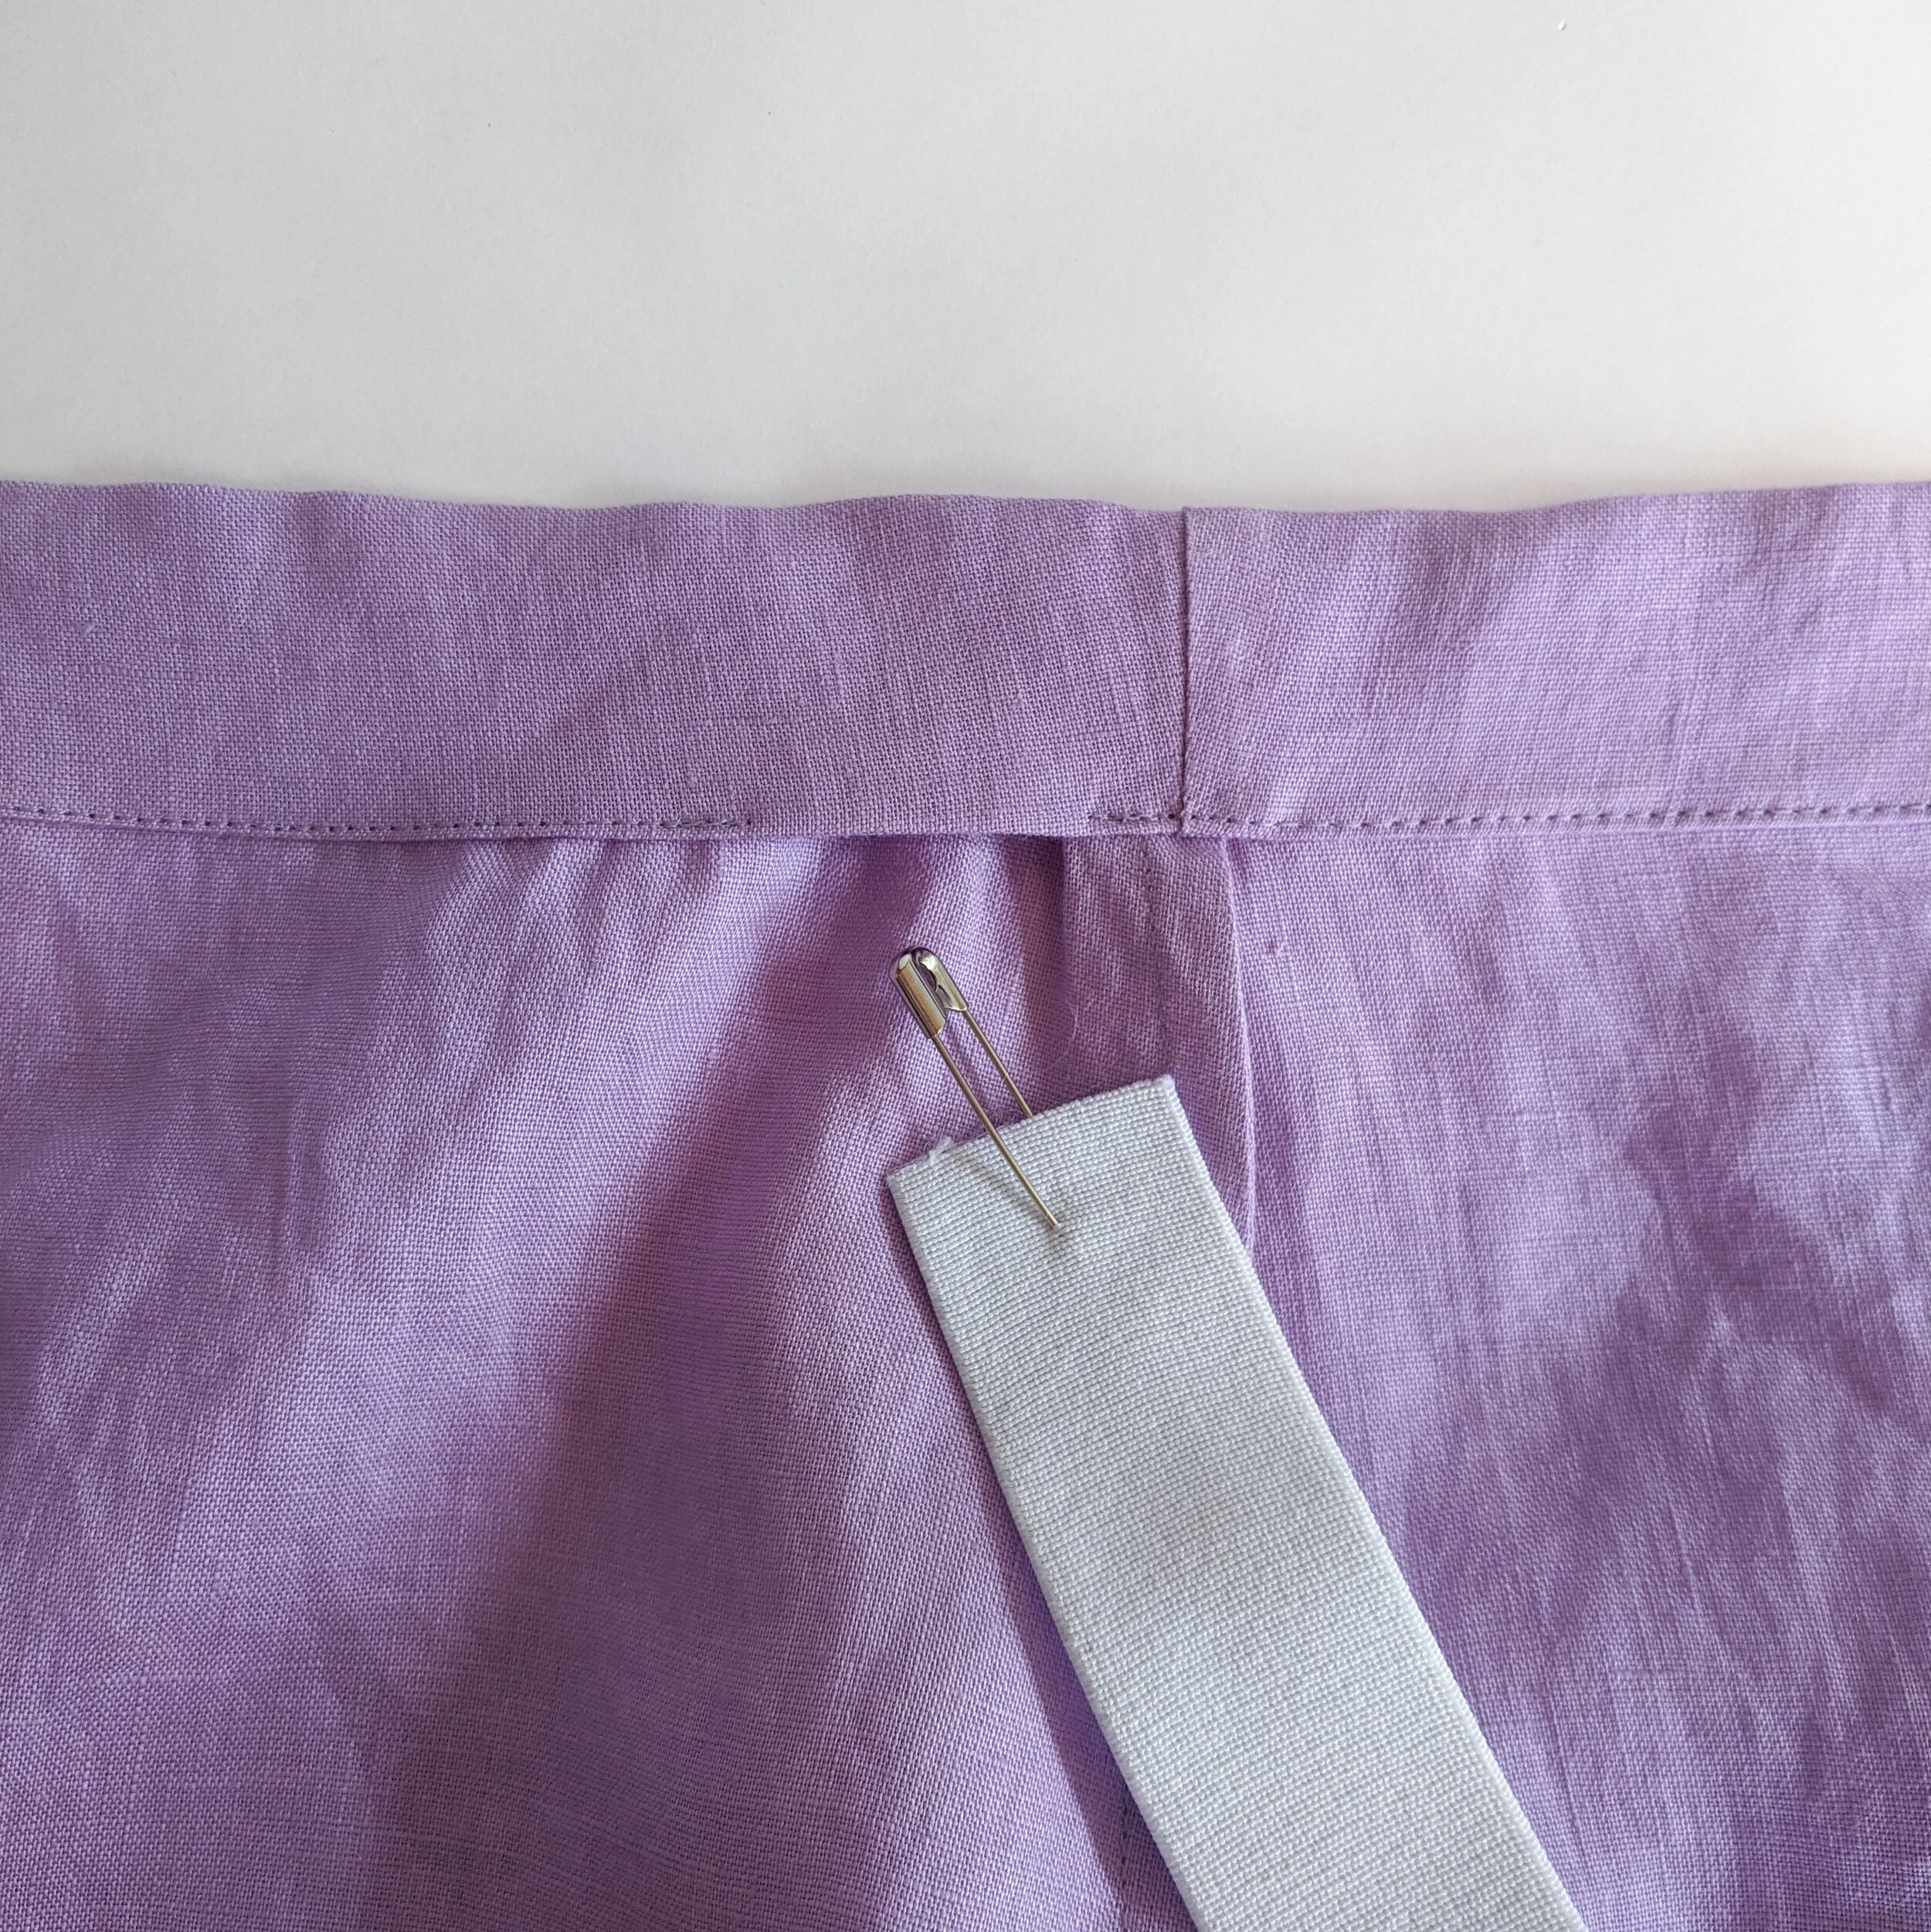
Insert your waistband elastic into the casing, secure it and sew up the hole.
Step 9
Hem the bottom of the skirt to your desired length. You can also make a template for a double folded hem.
This skirt has so many possibilities for hacks and alterations. You could cut the hem for an asymmetric look like this or add a ruffle like this. If you arent feeling up to a DIY, I recently found a Butterick pattern #5757 that includes a really similar skirt. If you do try this DIY out or have any questions, let me know on Instagram @_diydaisy.
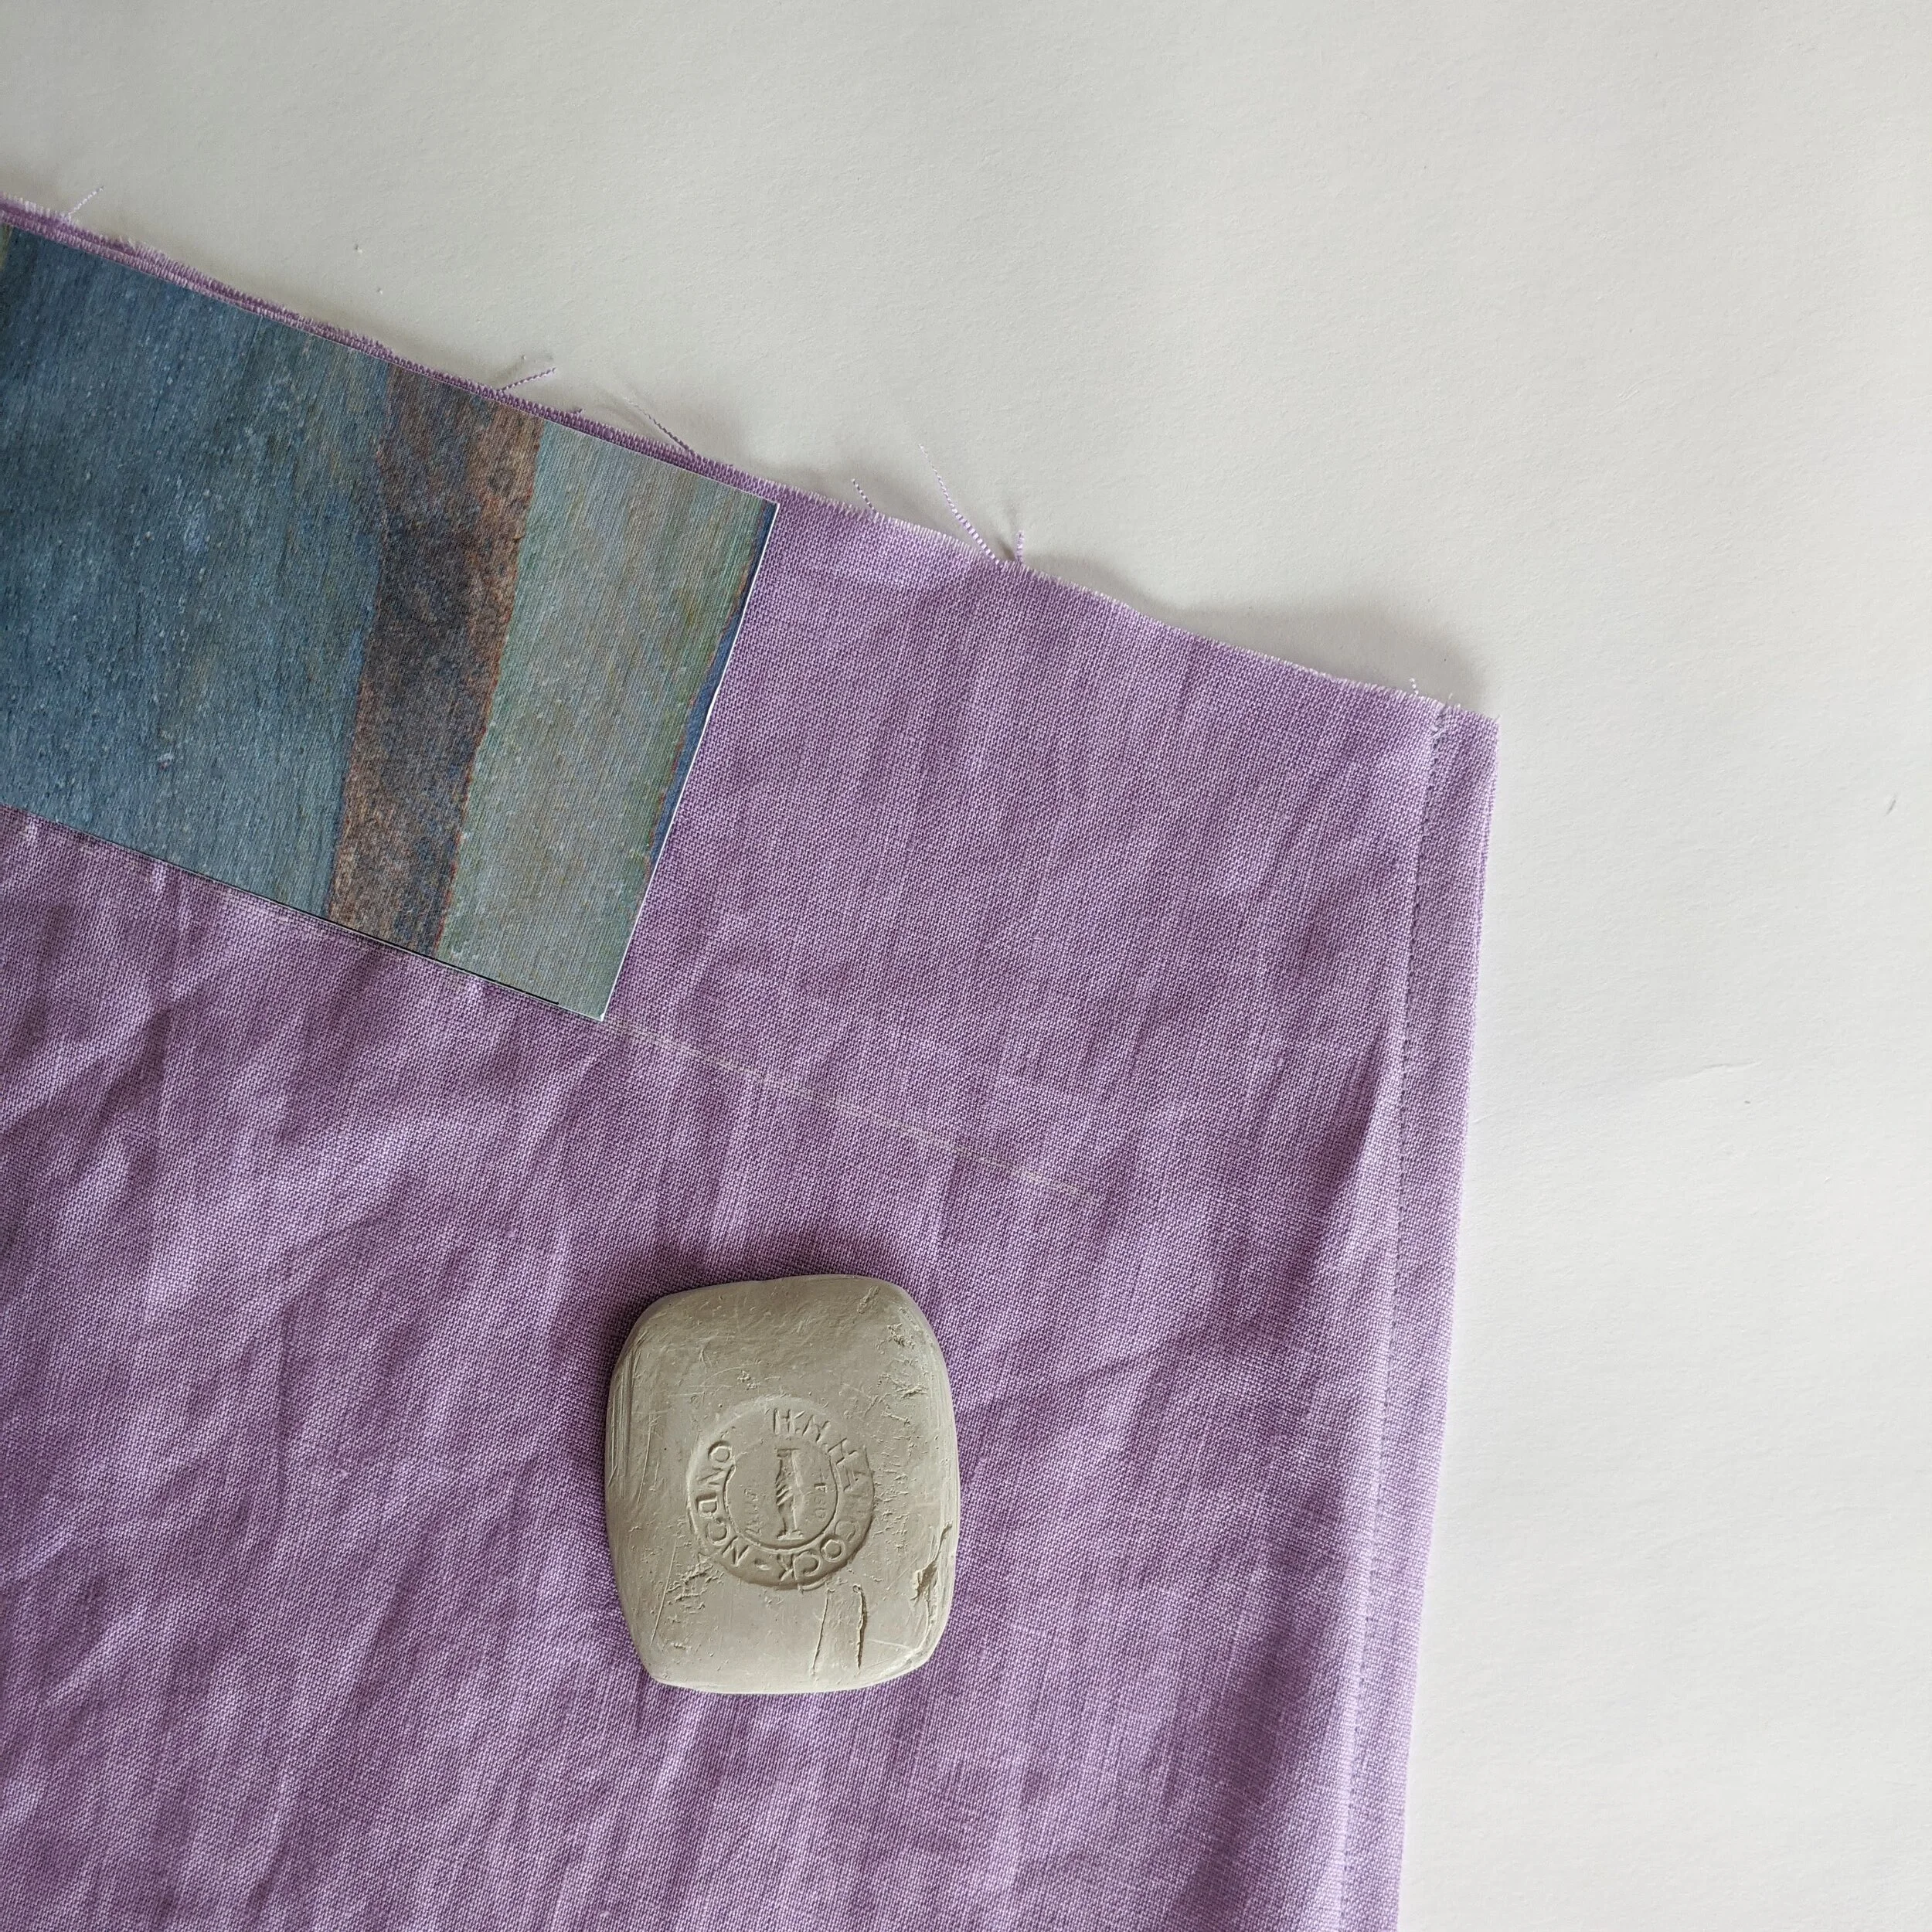
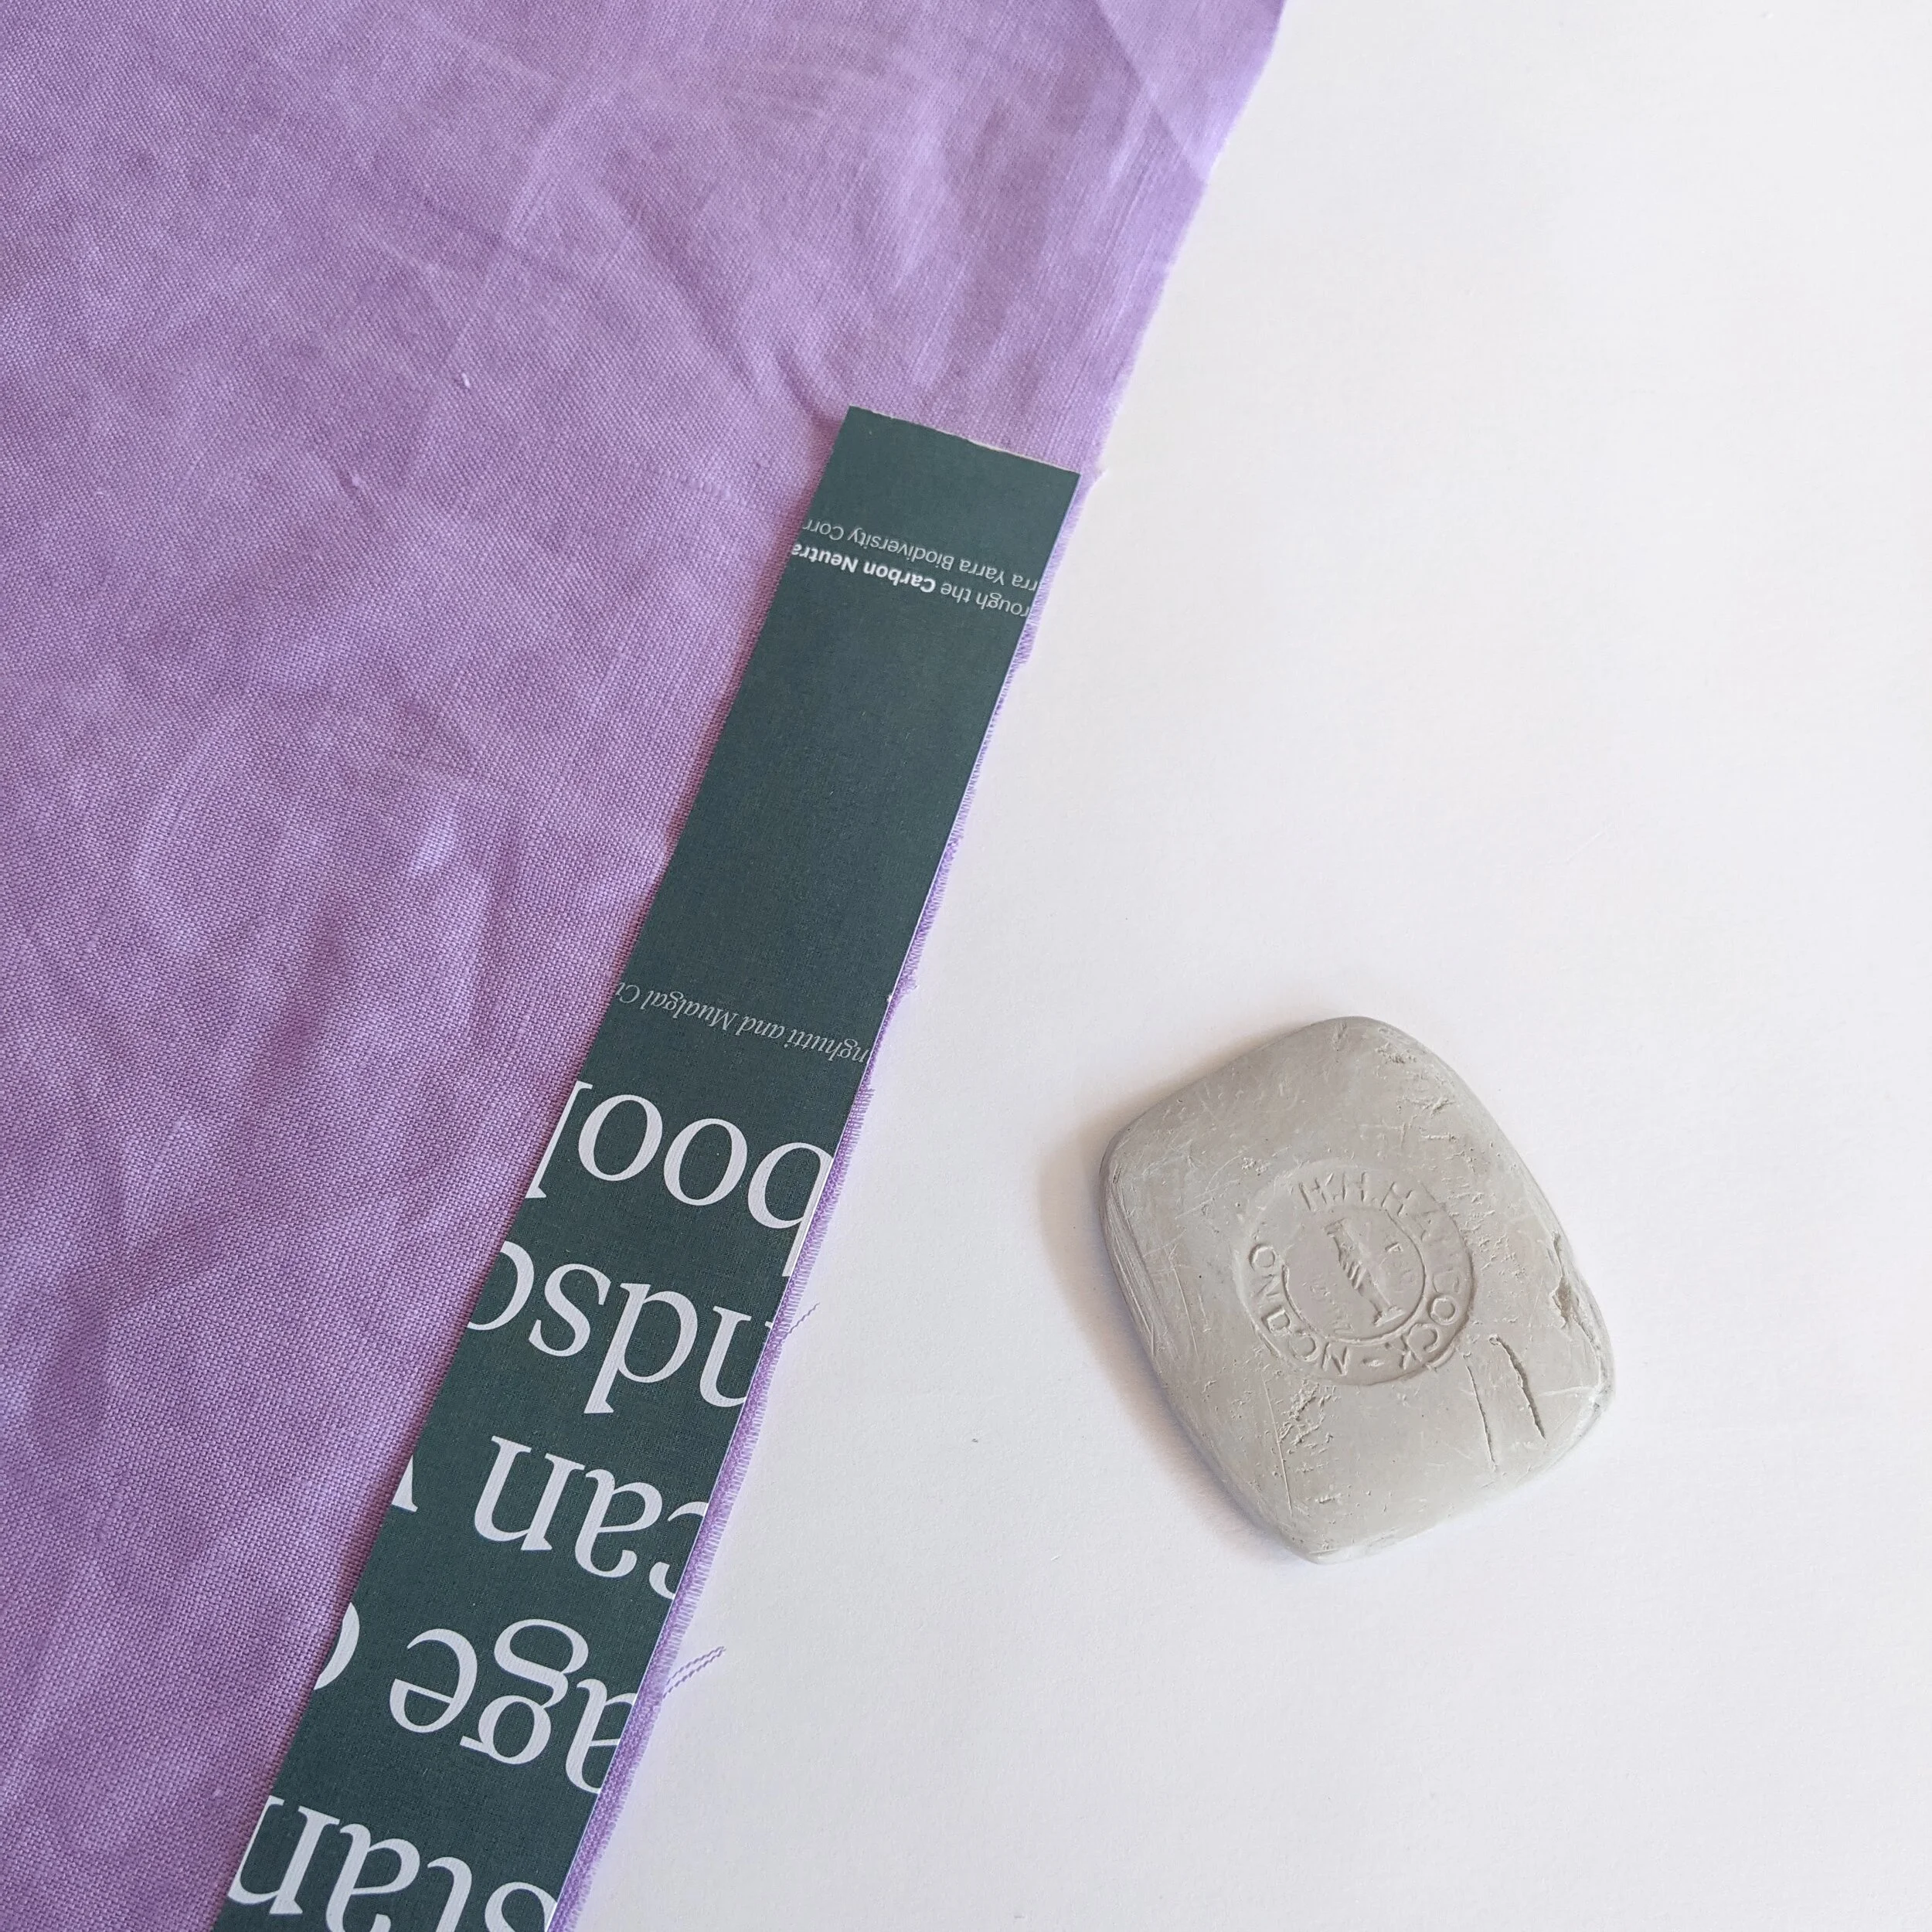
The beautiful lilac linen used in this tutorial was kindly gifted by The Fine Cloth Company.
Happy DIYing!