DIY Rectangle Sleeve Top Tutorial

This DIY top is one I have been self-drafting up for a while now because it is super quick and super easy! It produces very little waste and fits a couple of different sizes.
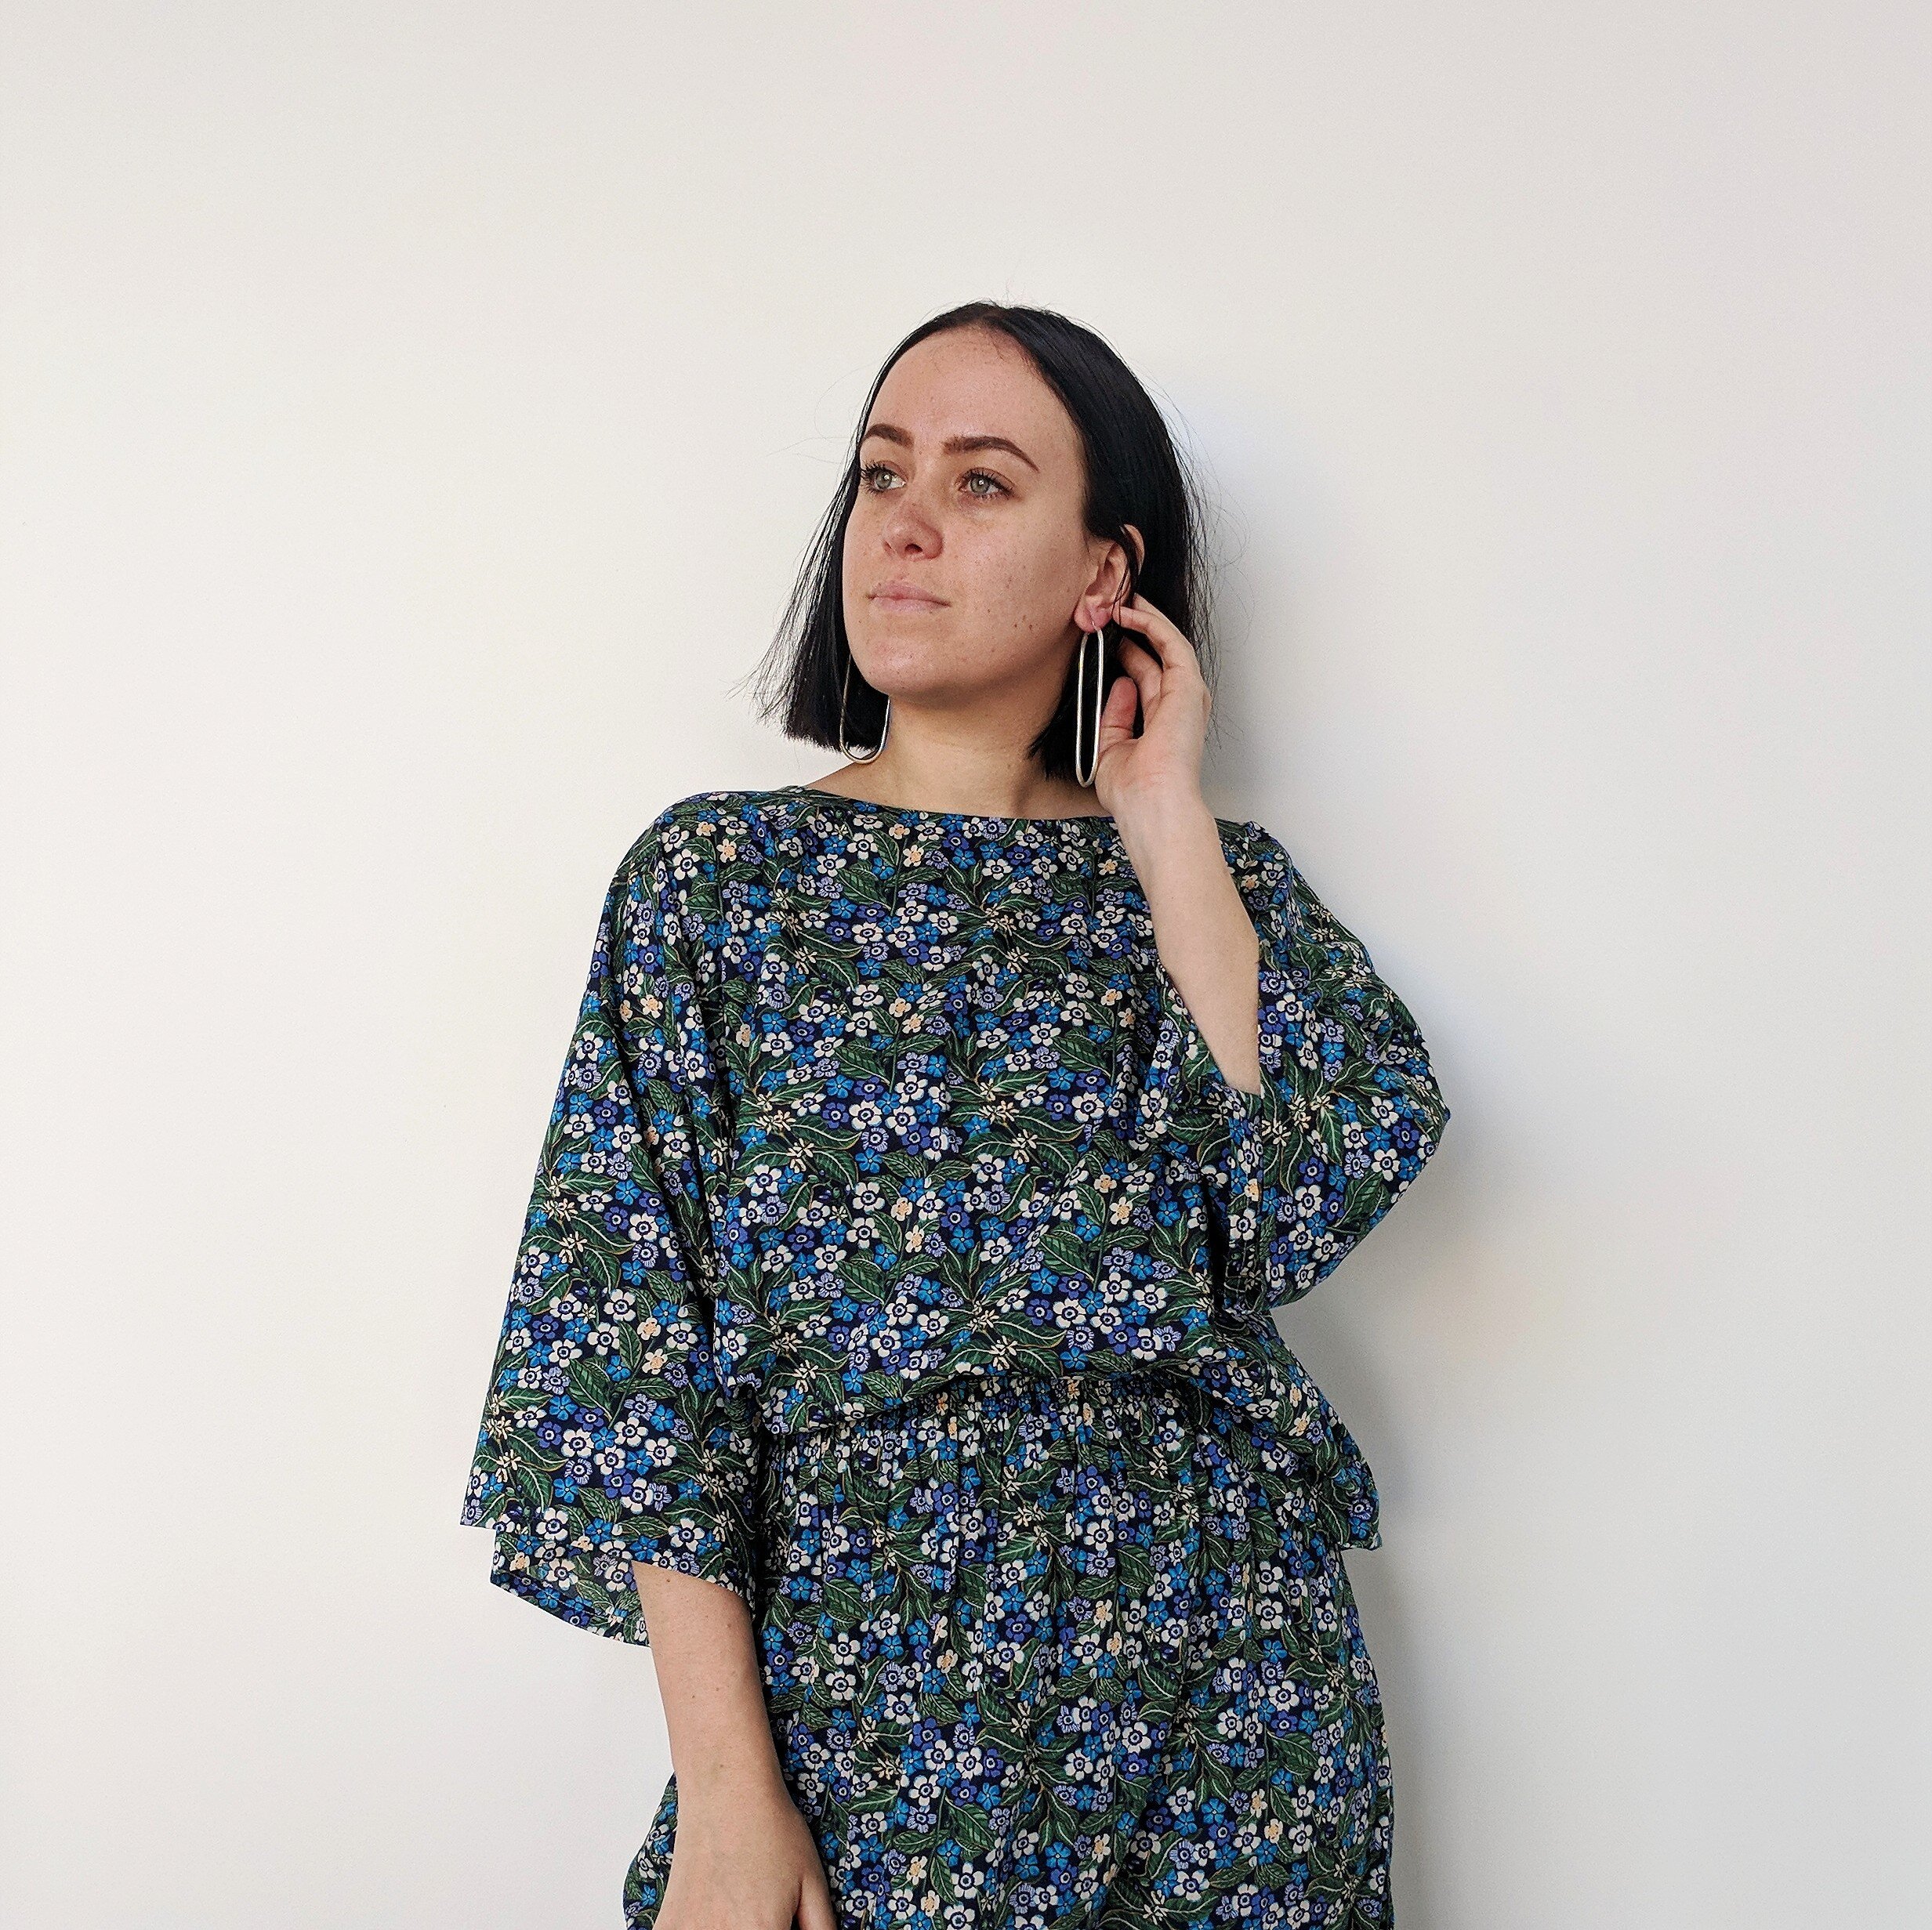
This top (made with 138cm wide fabric) can fit up to a size 16 or be worn oversize on someone smaller. To demonstrate this, I asked some family members to try it on too! I normally wear a size 12 but tend to make things slightly over sized because I like that look. Mum wouldn't normally wear something like this because shes got a bigger bust but I think the print was lovely on her. She is a size 16 on the top and 14 on the bottom. My little sister Amaya is a size 8 and while this isn't really her style either I think she looks awesome. My little brother David also wanted in on the action so I snapped some photos of him in the outfit too!


You will need:
90cm of a woven fabric about 138cm wide. I used a Liberty Tana Lawn I purchased from a fabric wholesaler in Auckland. You will need more than 90cm if you'd like a longer body and longer sleeves & less if you want something more cropped.
Bias binding for the neck hole or some extra fabric to make a facing
Matching thread
Sewing shears
Iron & Ironing board
How to:
1. Watch my Tiktok video about how to make this top first.
Working with the width of the fabric, cut two strips. The first about 60cm high and the second about 30cm high. Both will be the width of the fabric. The height of the rectangles will change the length of the top and the length of the sleeves.

2. Cut both rectangles in half down the center which will leave you with 2 big rectangles that are 60cm x 69cm (body front and back) and 2 smaller rectangles that are about 30cm x 69cm (sleeves).

3. Place the body pieces right sides together and if you're like me and you haven't yet ironed your fabric, now is probably a good time.

4. Fold both pieces in half to find the center and then cut the neck hole. I sometimes use another top I like and trace the hole or just go freehand. You can choose to make a facing at this stage for your neck hole or cut some bias binding. Both work fine.

5. To put it all together, start by sewing the shoulder seams together. I usually go for a seam allowance of 1cm all over. Then attach your facing or bind the neck hole with binding. Attach the sleeves and then sew up the side seams. You may need to clip the corners under the arm so that it doesn't bunch up.

6. To finish off, hem all the edges to your desired length and then it's finished! Here is a couple of Rectangle Sleeve Tops I made in the past.